Lost But Not Helpless
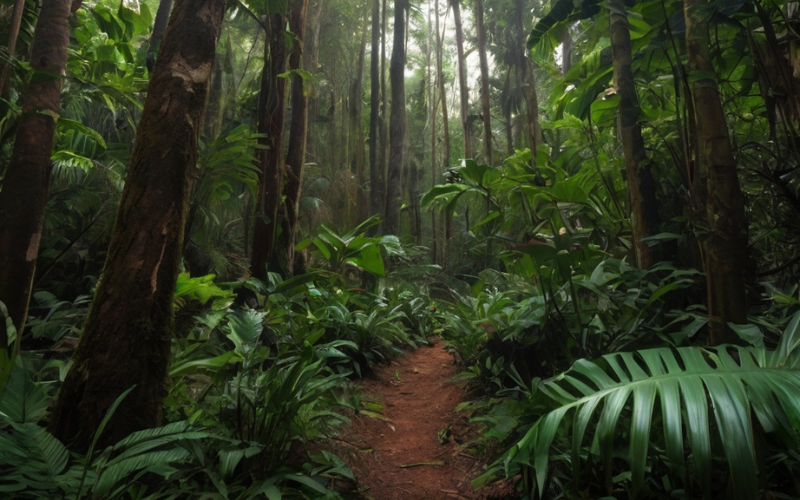
Outdoor activities like hiking, camping, and mountain biking have seen a sharp rise in popularity in recent years. However, with more people exploring forests, mountains, and remote trails, the chances of getting lost are increasing.
That’s why learning how to survive being lost in the wilderness is more important than ever. Whether you’re hiking, camping, or simply enjoying a weekend trek, knowing how to survive being lost in the wilderness can mean the difference between a minor mishap and a serious emergency.
That’s where basic survival knowledge becomes essential. Knowing how to find safe drinking water, build a shelter, signal for help, or stay calm when lost can save your life. These aren’t advanced wilderness skills for experts—they’re practical, lifesaving basics that anyone can learn.
Without preparation, a wrong turn or unexpected weather shift can quickly become dangerous. Navigation tools can fail, weather can turn cold, and injuries can occur when help is miles away. Every year, countless rescue missions are launched to find people who underestimated the wilderness or overestimated their own skills.
This survival guide is designed to help beginners understand the core principles of wilderness survival. In the following sections, you’ll learn how to assess your situation, prioritize your needs, and take effective action if you ever find yourself lost in the wild.
With preparation and awareness, anyone can enjoy the outdoors more safely and confidently. Stay informed, be cautious, and always respect the power of nature.
Stay Calm and Assess the Situation
One of the most critical steps in any survival scenario is staying calm. Panic can cloud your judgment, lead to poor decisions, and drain your energy quickly. When you realize you’re lost, taking control of your thoughts is just as important as managing your physical needs. Mental preparedness starts with understanding that fear is normal—but it doesn’t have to control your actions.
A proven method to handle such situations is the STOP technique:
- Stop: The moment you realize you’re lost, stop moving. This prevents you from going further off course or making rushed decisions.
- Think: Take a few deep breaths and evaluate your situation. Recall your last known location, any landmarks, or how long you’ve been walking.
- Observe: Check your surroundings. Do you hear water? See a trail marker? Look for signs that could help you reorient or determine your location.
- Plan: Based on what you know and see, develop a plan. Decide whether to stay put or try to retrace your steps.
In most cases, staying in place is the best option, especially if you’ve already moved far from a trail or marked area. Rescuers often start their search from the last known location. Moving further can make it harder for them to find you.
However, if you are confident in your orientation and believe help is nearby—such as a trail you recently passed—it may be reasonable to backtrack carefully. Mark your path with rocks or broken branches so you don’t lose your way again.
Staying calm and thinking clearly will significantly increase your chances of making smart decisions and staying safe until help arrives.
Finding and Purifying Water
When you’re lost in the wild, your body’s need for water quickly becomes your top survival priority. While a person can survive for several days without food, going more than three days without water can be life-threatening. That’s why knowing how to find water in the wilderness and purify it safely is essential.
How to Find Water in the Wilderness
Start by looking for obvious sources like streams, rivers, and lakes. Water always flows downhill, so following valleys or listening for the sound of running water can lead you to a supply. If you’re in a mountainous area, snow or ice can be melted for water. Just remember that eating it raw can lower your core body temperature, so try to melt it first.
If you can’t find a visible source, look for signs of moisture in the environment:
- Morning dew can be collected from grass or leaves using a cloth, which you can then wring out into a container.
- Rainwater is one of the safest options. Use any available containers, including plastic sheeting, tarps, or even large leaves, to collect and store it.
- Animal trails often lead to water. Following these paths or observing the flight paths of birds in the early morning or late afternoon can give clues.
Survival Water Purification
Even the clearest mountain stream can carry harmful bacteria, parasites, or viruses. Drinking untreated water can lead to severe illness, which is especially dangerous when you’re alone and vulnerable. That’s why survival water purification is just as important as finding water.
Here are effective purification methods:
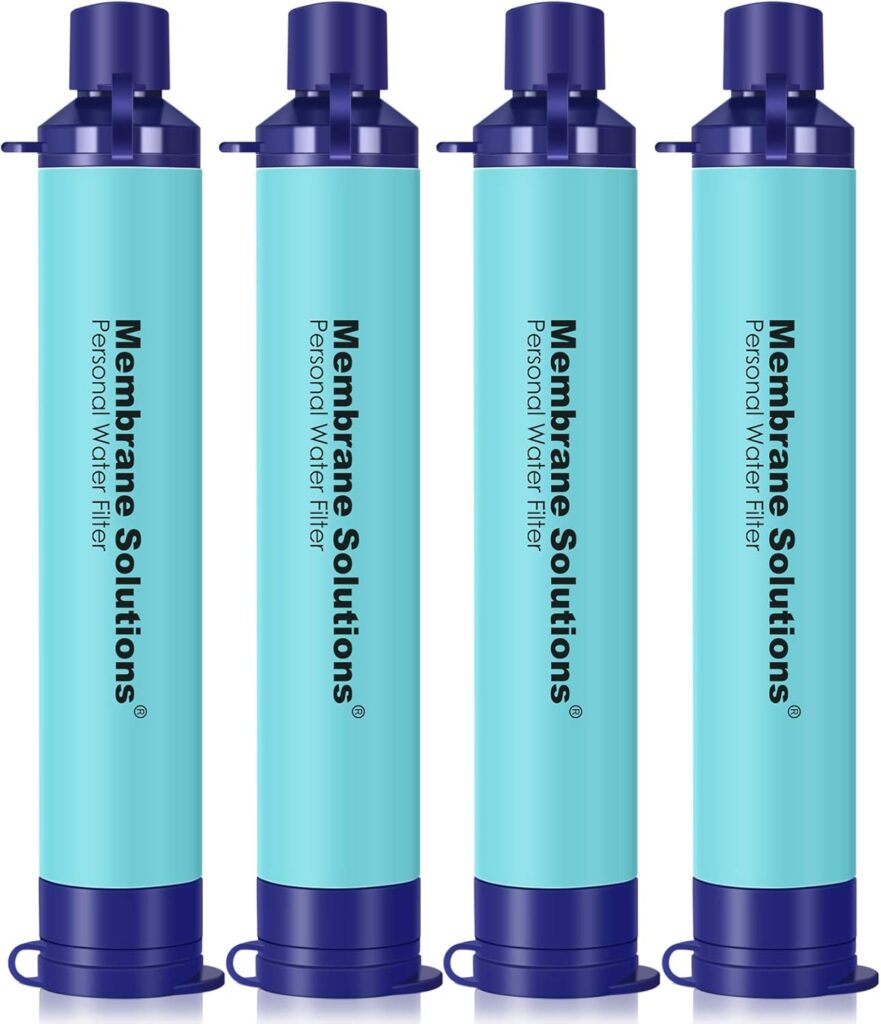
- Boiling: If you can start a fire and have a metal container, boiling water for at least one minute is the most reliable way to kill harmful microorganisms.
- Filtering: Portable water filters or purification straws are compact and easy to carry. They remove bacteria, protozoa, and debris. Some models can even remove viruses.
- Purification Tablets: These lightweight tablets use chemicals like iodine or chlorine dioxide to disinfect water. Simply drop a tablet into a liter of water and wait as instructed, usually 30 minutes.
- Solar Disinfection (SODIS): In an emergency, clear plastic bottles filled with water can be left in direct sunlight for six hours. UV rays help reduce pathogens, though this method is slower and less reliable than others.
If you don’t have tools, you can create a basic filter using cloth, charcoal, sand, and small stones layered in a container. While this won’t disinfect the water, it helps remove visible impurities before further purification.
Staying hydrated can mean the difference between survival and serious danger. Knowing how to find water in the wilderness and applying effective survival water purification methods are crucial steps that can keep you alive and strong until you’re rescued or find your way back.
Building a Shelter
When you’re lost in the wilderness, exposure to the elements is one of your biggest threats. Rain, wind, cold temperatures, or intense sun can rapidly deplete your energy and lead to serious conditions like hypothermia or heatstroke. That’s why building shelter in the wild is one of the most essential basic wilderness survival skills you can learn.
Why Shelter Matters
A well-built shelter offers protection from weather, keeps you dry, and provides a psychological boost by giving you a sense of safety. In survival situations, conserving energy and staying warm or cool is just as critical as finding food or water. Building a shelter also helps signal your presence to rescuers by marking your location.
Types of Natural Shelters
You don’t need special tools to create a functional shelter—just an understanding of your environment and how to use available materials effectively.
1. Lean-To Shelter
One of the easiest shelters to construct, the lean-to uses a long branch or log as the main support, angled against a sturdy base like a fallen tree or rock. Then, layer smaller branches diagonally across it and cover with leaves, pine needles, or bark for insulation. This shelter is best if you have a fire nearby, as it reflects heat into the open side.
2. Debris Hut
This is excellent for colder weather. Begin by creating a frame with a central ridge pole supported by two forked sticks or rocks. Cover the frame with branches, then insulate it heavily with leaves, moss, and other debris. Crawl inside to sleep, leaving a small opening for ventilation.
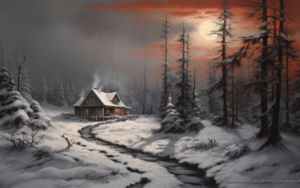
3. Tree Pit Shelter
In snowy environments, dig into the base of a tree where snow is naturally shallower. Use branches for insulation above and below you, and construct a roof with limbs and snow to retain heat.
Using the Environment Effectively
Before building, look for a safe location:
- Avoid low ground, where cold air and water collect.
- Stay away from cliffs, unstable slopes, and animal trails.
- Use natural features like rock overhangs or fallen logs as part of your shelter.
Choose materials nearby to save energy. Dry leaves, bark, and pine needles make excellent insulation. If it’s wet, try to gather materials off the ground to avoid moisture.
Time and energy are limited when you’re stranded, so keep it simple. The goal is not comfort, but protection. Focus on minimizing exposure to wind and rain, and retaining body heat.
Mastering basic wilderness survival skills like building shelter in the wild prepares you for the unexpected. Whether you’re dealing with cold nights, rainstorms, or intense sun, a shelter gives you the security needed to survive until help arrives or conditions improve.
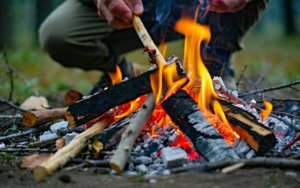
Starting a Fire Without Matches
Fire is one of the most valuable tools when you’re stranded in the wild. It provides warmth, light, a way to cook food, purify water, signal for help, and boost morale. But what happens when you don’t have matches or a lighter? Learning to start a fire with basic tools and techniques is a vital part of basic wilderness survival skills.
Why Fire is Essential
In cold or wet conditions, fire can prevent hypothermia. It helps you boil water for purification, cook edible plants or insects, and keep predators at bay. It also offers a visible signal to rescuers, especially when paired with smoke.
Fire-Starting Techniques Without Matches
Here are some tried-and-true methods for starting a fire in the wild using what you might carry or find:
1. Flint and Steel or Ferro Rod
If you packed a ferrocerium rod, you’re in luck. Scrape it with a metal blade to create sparks. Aim them at dry tinder like cotton, dry grass, bark shavings, or a bird’s nest of fibrous materials.
2. Fire Plough or Hand Drill (Friction Methods)
Friction-based methods are more challenging but effective with practice. A hand drill involves twirling a dry stick between your hands while pressing into a notch on a dry wood base. The friction creates a hot ember, which you transfer to your tinder bundle.
3. Bow Drill
This traditional method uses a bow to rapidly spin a spindle against a wood base. While harder to master, it’s a reliable friction method if you have the time and patience to build it properly.
4. Solar Ignition (Lens Method)
On sunny days, use a magnifying glass or the lens from a camera or binoculars to focus sunlight on tinder. It takes time but can produce a hot ember if the sun is strong enough.
Building and Maintaining the Fire
Once you’ve got an ember, place it in a dry tinder nest and gently blow until it catches flame. Gradually add small twigs (kindling), then larger branches. Arrange your fire in one of these simple structures:
- Teepee: Great for a quick flame.
- Log Cabin: Provides a stable burn.
- Lean-To: Useful in windy or wet conditions.
Always build your fire on dry ground or a fire-safe platform of rocks. Keep it contained with a fire ring, and never leave it unattended. Collect plenty of wood before you start—once the fire is lit, you’ll want to keep it going without rushing to gather more fuel.
Identifying Edible Plants and Insects
When lost in the wilderness without food, you may have to rely on the environment to keep your energy up. While you can survive several weeks without eating, having something to fuel your body can keep you sharp, warm, and motivated. That’s where the ability to identify edible plants and insects becomes a critical part of basic wilderness survival skills.
General Safety Rules
Not all wild foods are safe to consume. Many plants and insects are toxic or cause allergic reactions. Follow these precautions before trying anything unfamiliar:
- Avoid anything with milky or discolored sap.
- Steer clear of plants with spines, fine hairs, or strong odors.
- Don’t eat plants with white or yellow berries; they are often poisonous.
- Always test unknown foods before eating a full portion. Rub a small part on your skin and wait 15 minutes. If there’s no reaction, place a tiny piece on your lips, then tongue. If safe, chew and wait before swallowing.
Common Edible Plants
Depending on your location, some widely found plants may help sustain you:
- Dandelion: All parts are edible—roots, leaves, and flowers.
- Cattail: Found near water; roots and young shoots are nutritious.
- Wild onions and garlic: Identifiable by their smell. If it doesn’t smell like onion or garlic, don’t eat it.
- Berries: Blackberries, raspberries, and blueberries are generally safe. Avoid berries you can’t positively identify.
Be sure to positively identify any plant before consuming it. A mistake could make you sick or worse.
Insects as Survival Food
Insects may not be appealing, but they’re packed with protein and easier to find than plants. Avoid brightly colored or hairy bugs, and stay away from those that smell strong or emit defensive chemicals.
Safe options include:
- Ants: Can be eaten raw, though some people prefer roasting them first.
- Crickets and grasshoppers: Remove the legs and wings before cooking.
- Beetles and larvae: Many species are edible after roasting.
Cooking is essential. It kills parasites and makes digestion easier. Avoid insects found near polluted water or rotting material.
Gathering Tips
- Look under rocks, logs, and leaves.
- Avoid contaminated areas like standing water or animal waste zones.
- Cook your findings thoroughly, even if you’re certain they’re safe raw.
While food is not your top priority in the early stages of survival, knowing how to find it will be important if you’re stranded for more than a day or two. By carefully learning to identify safe edible plants and insects, you add a valuable tool to your set of basic wilderness survival skills.
Navigating Without a Compass
Getting lost in the wilderness can be disorienting, especially without modern tools like GPS or a map. But with a bit of knowledge, you can use your surroundings to get your bearings. Understanding basic wilderness survival skills such as navigating without a compass could help you find your way back to safety or make better decisions about whether to stay put or move.
First Step: Stop and Think
Before you begin moving, think carefully about your last known location. Did you pass a trail marker, river, or ridge line? Try to retrace your mental steps. Walking in the wrong direction may make it harder for rescuers to find you or lead you into more dangerous terrain.
Using the Sun for Direction
The sun is one of the most reliable tools you can use during the day:
- Rises in the east and sets in the west: This gives you a basic sense of direction.
- Shadow Stick Method: Place a stick upright in the ground. Mark the tip of its shadow with a rock. Wait 15 minutes and mark the new position. A line between the two points will run approximately east-west.
This method helps you orient yourself when you need to decide which way to travel—or to determine where you are.
Navigating by the Stars
At night, the stars can guide you. In the northern hemisphere, locate the Big Dipper. Draw a line through its two outermost stars to find the North Star (Polaris). It sits almost directly above true north. Once located, it helps you maintain a consistent direction.
Terrain Clues
- Waterways: Streams and rivers often lead to civilization. Following them downstream can eventually bring you to roads, towns, or campsites. Stay on the higher side of the bank to avoid water hazards.
- Ridges and High Ground: Climbing to a higher elevation can provide a better view of your surroundings, helping you spot landmarks or pathways.
Creating Trail Markers
If you decide to move, leave a clear trail behind you. Use stacked rocks, broken branches, or marks in the dirt to signal your direction. This helps if you need to backtrack or if rescuers come looking for you.
When to Stay Put
If you’re unsure of your surroundings and no clear landmark is in sight, staying in place might be the safest choice. Set up a shelter, signal for help, and conserve your energy.
Navigating in the wild doesn’t require advanced equipment—just observation, patience, and basic knowledge. Learning to move with confidence using sun, stars, and terrain can turn a desperate situation into a managed one. The more familiar you are with navigating without a compass, the better your chances of making it through.
What to Pack in a Survival Kit
Preparation is one of the most important components of basic wilderness survival skills. While survival tactics can help you in a crisis, having a well-packed survival kit significantly increases your chances of staying safe and being rescued quickly. Whether you’re going for a day hike or a multi-day trek, knowing what to include in your gear is crucial when facing the unexpected.
Essentials for Any Survival Kit
A good survival kit should be compact, lightweight, and capable of helping you meet your core needs: shelter, water, fire, food, signaling, and navigation. Here’s what to pack:
1. Multipurpose Knife or Multi-Tool
A sturdy blade is invaluable for cutting wood, preparing food, making tools, and self-protection. Choose a quality knife or a multi-tool with multiple functions.
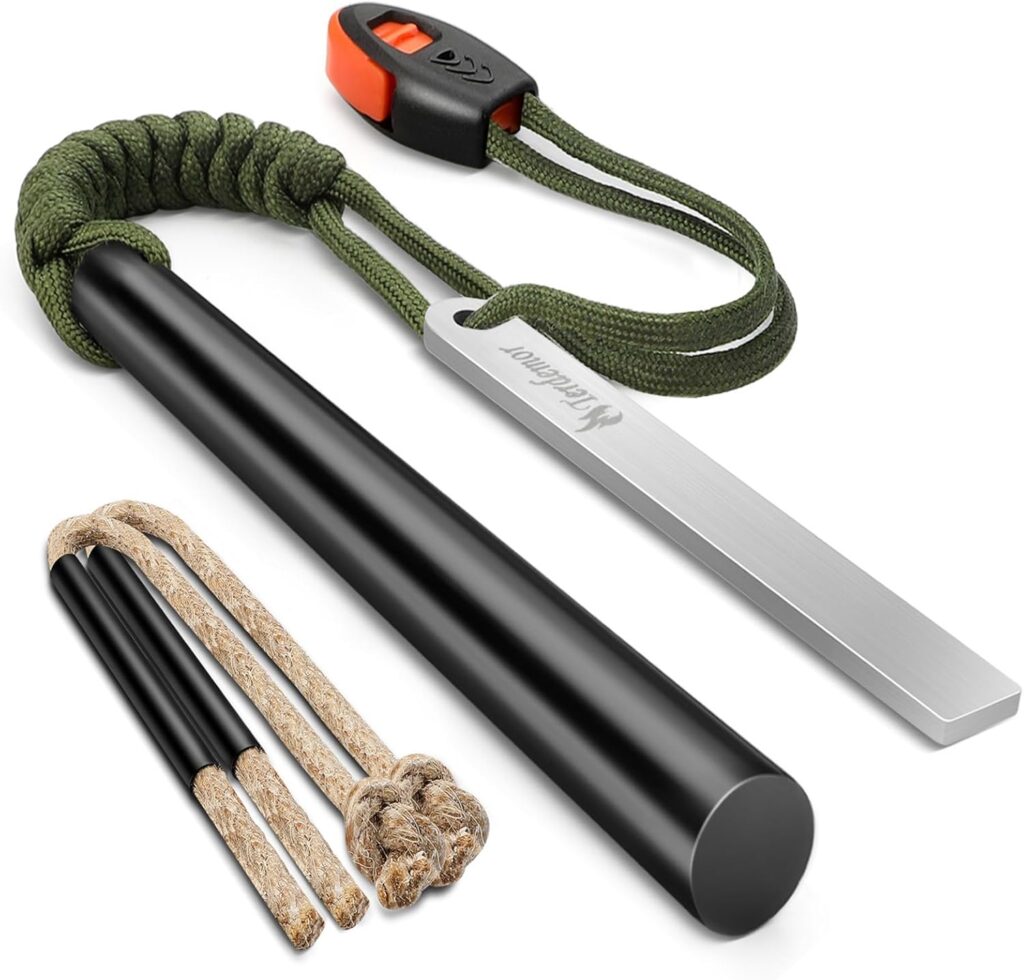
2. Fire-Starting Tools
Include at least two fire-starting methods such as waterproof matches, a lighter, and a ferrocerium rod. Ferrocerium Rod Fire Starter with Striker – Survival Spark Magnesium Firestarter. Pack dry tinder like cotton balls soaked in petroleum jelly or fire-starting cubes.
3. Water Purification Supplies
Always carry purification tablets or a compact water filter. These tools make questionable water sources safer to drink and are vital for long-term survival.
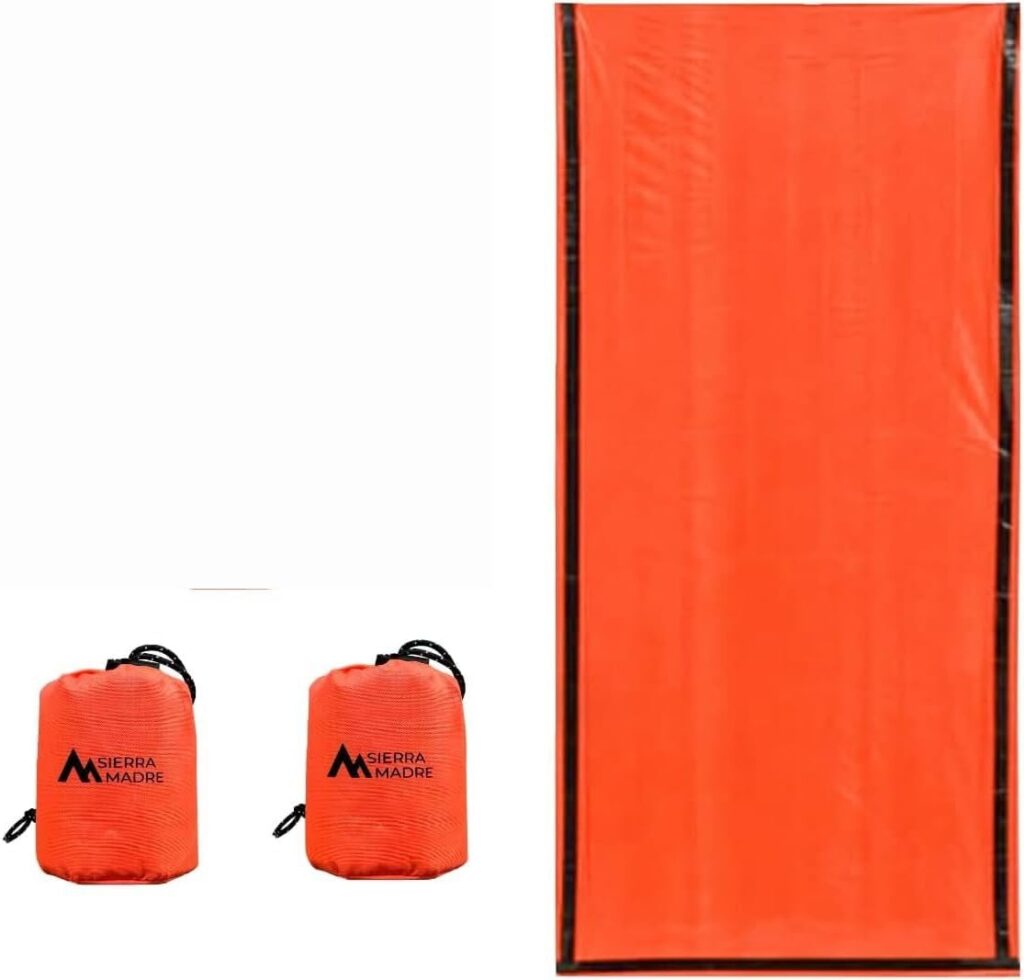
4. Shelter Supplies
Even if you plan to return the same day, include an emergency blanket or bivy sack. Lightweight and compact, they can provide life-saving insulation and weather protection.
5. First Aid Kit
Include basics: adhesive bandages, antiseptic wipes, tweezers, medical tape, gauze, and pain relievers. Customize your kit with any personal medications.
6. Signaling Devices
A whistle, mirror, and bright cloth are crucial for attracting attention. A whistle is louder and more durable than your voice, and a mirror can reflect sunlight to signal aircraft or rescuers.
7. Flashlight or Headlamp
Pack a small LED flashlight or headlamp with extra batteries. Darkness falls quickly in the wilderness, and having a light source helps with navigation and safety.
8. Navigation Tools
Include a physical map of the area and a compass. Even if you plan to use a GPS device, always have analog backups in case your electronics fail.
9. Food Rations
Pack high-calorie, non-perishable snacks like energy bars, trail mix, or jerky. While not a long-term solution, they can keep your energy up during short-term survival situations.
10. Cordage
Paracord is strong, lightweight, and can be used for shelter building, repairs, or even fishing. A 25–50 foot length should be enough for most situations.
Smart Packing Tips
- Use a waterproof pouch or dry bag to keep your kit safe from moisture.
- Periodically check and replace expired items.
- Adjust your kit based on your destination’s climate and your level of experience.
Having the right tools on hand makes it easier to apply the basic wilderness survival skills you’ve learned. Your survival kit is your lifeline—it’s what turns knowledge into action and helps you handle unexpected situations with confidence.