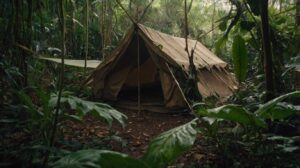
Clean Water, Safe Journey
How to Purify Water in the Wild is essential knowledge for anyone venturing far from safe water sources. How to Purify Water in the Wild teaches methods to remove harmful bacteria, viruses, and parasites that lurk in streams, lakes, and untested ponds. How to Purify Water in the Wild guides you through simple steps using tools you can carry or find, helping prevent illness and dehydration in demanding terrain. In survival scenarios, clean water can mean the difference between health and severe sickness.
In this article, we will explore various purification methods such as boiling, filtration, and chemical treatment. We’ll review simple, reliable tools like portable filters, water purification tablets, and improvised setups using items. Finally, we’ll share key safety tips to avoid recontamination, ensure hydration, and maintain energy levels on your journey. By learning these techniques, you can stay healthy, minimize risk of waterborne illness in wild settings.
Why You Must Purify Wild Water
Accessing water in remote locations is essential, but untreated sources can harbor dangerous pathogens. Giardia, Cryptosporidium and E. coli top the list of culprits behind acute gastrointestinal distress. Giardia lamblia triggers prolonged diarrhea and cramps; Cryptosporidium causes severe stomach pain and dehydration; E. coli infections range from mild discomfort to life-threatening symptoms.
Even if water appears clear and free of debris, it can still contain microbial threats invisible to the naked eye. Water collected from springs, streams or lakes may seem pristine, yet contamination often comes from wildlife activity, upstream runoff or decaying organic matter. Cloudiness, foul odor or unusual color are obvious indicators of pollution, but absence of these signs does not guarantee safety.
In survival scenarios, the dilemma often lies between drinking questionable water and risking dehydration. Parched individuals become weaker and more vulnerable to exposure, hypothermia and other hazards. However, consuming contaminated water can trigger severe gastrointestinal illness—further depleting fluid reserves and compromising one’s ability to navigate or signal for help. Symptoms such as vomiting, diarrhea, cramping and fever can escalate rapidly, transforming a manageable situation into a life-threatening crisis.
Never assume safety based on appearance alone. Prioritizing water treatment is crucial. Even brief periods without safe hydration can impair coordination, cognition and decision-making—vital in remote settings. Reliable techniques—filtration, boiling or chemical treatment—significantly lower infection risks while replenishing fluids. Carrying treatment tools may feel burdensome, but untreated water can cause severe illness. This simple step transforms a dangerous situation into a manageable one.
Find a Water Source
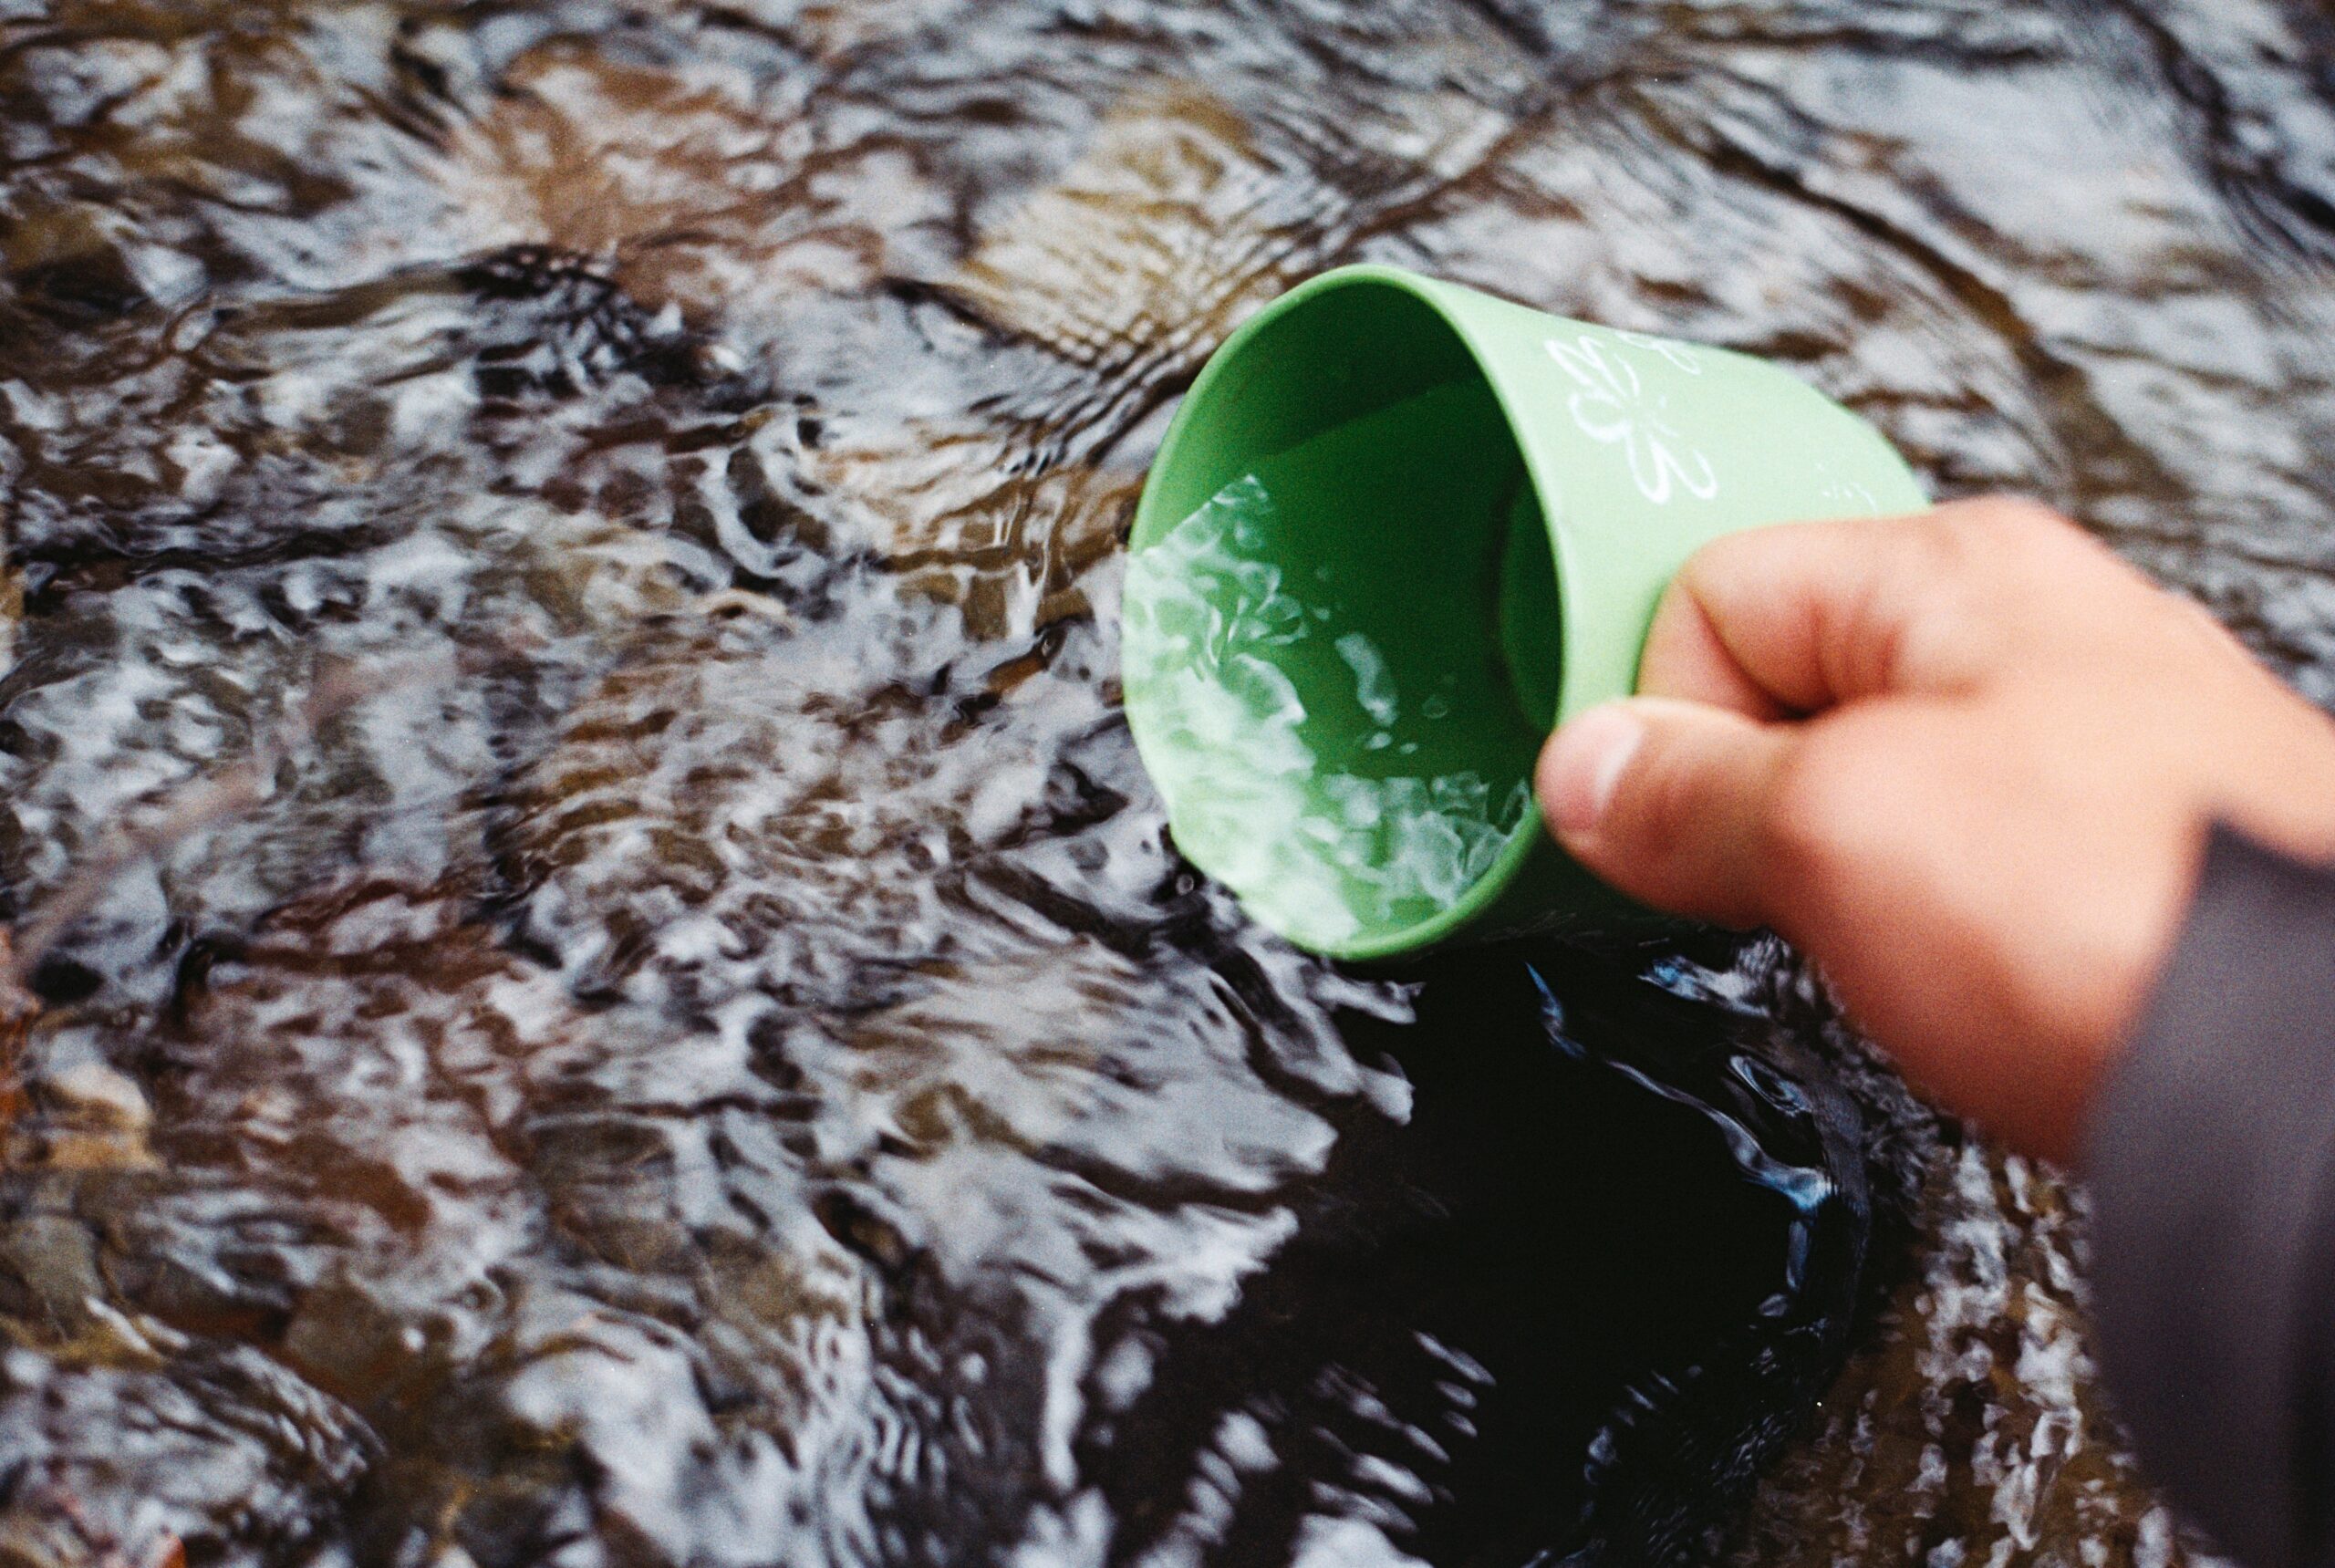
Locating a reliable supply of water is essential for any outdoor excursion. The top choice is a flowing stream or small river because the constant movement helps reduce contaminants. If you can’t find a stream, collect rainwater by suspending a clean container under an overhang or fashion a canvas catchment using a tarp. In winter or high-altitude settings, gather fresh snow or ice, then melt it before purification.
Stay away from stagnant ponds, marshes, or slow-moving pools. These are prime breeding grounds for bacteria and parasites. Also avoid watering holes frequented by large mammals; animal waste and runoff may contaminate the edges. Even if a pond appears clear, unseen hazards may lurk below the surface.
Terrain plays a key role in locating cleaner sources. In mountainous regions, search near spring outlets along valley floors where groundwater emerges. Rockier slopes often have seepage between stones. In forested areas, look for trickles beneath dense canopies. The shade helps preserve moisture and discourage bacterial growth. On arid plains, follow wildlife tracks toward early-morning dew patches or shallow depressions where condensation collects. You may find dew-laden leaves that can be squeezed into a container.
Desert gullies can funnel scarce rainfall into temporary streams or potholes. Inspect washes and dry creek beds after brief storms, but do so quickly to beat debris and sediment stir-up. Near coastlines, freshwater lenses may form behind dune ridges; dig a small hole inland of the high-water mark to access filtered groundwater.
Always check for signs of contamination: dead fish, scum, colored foam, or foul odors signal you to move elsewhere. After pinpointing a favored source, gather water from the upstream portion, ideally where flow is freshest and sediment minimal. Once collected, proceed with your chosen purification method to ensure safe drinking water. Stay hydrated.
Boiling Method (Most Reliable)
Boiling water is a straightforward way to remove harmful microorganisms such as bacteria, viruses and protozoa. This method relies on temperature rather than chemicals, making it effective in most conditions. Below is a detailed guide to using the boiling method safely in the wild.
Tools Needed:
• Heatproof container (metal pot, stainless steel cup)
• Fire source (campfire, portable stove, charcoal burner)
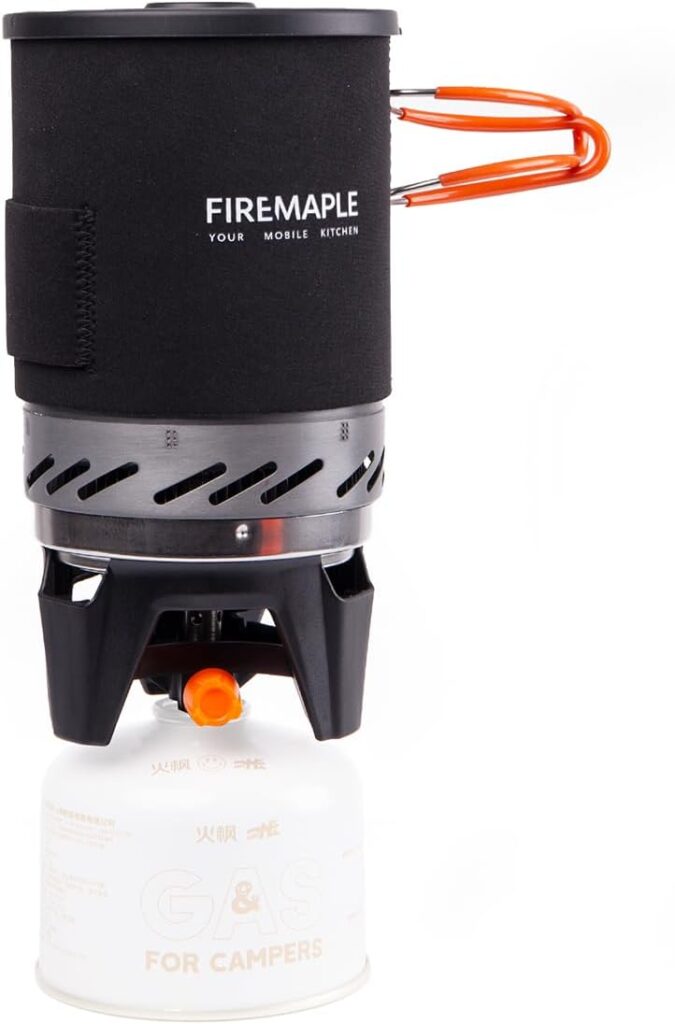
Fire-Maple Titanium Stove Kit – Lightweight Portable Stove for Camping & Boiling Water
Ideal for backpackers needing a compact, reliable heat source in the wild.
• Fuel (wood, gas canister, charcoal)
• Pot-holding tool (gloves, tripod, tongs)
• Stirring device (spoon, stick)
Step-by-Step Guide:
- Collect Water: Fetch water from the clearest source available, avoiding stagnant pools.
- Pre-Filter (Optional): Strain water through a cloth or coffee filter to remove debris.
- Build Fire: Ignite a campfire or set up a portable stove on stable ground. Ensure proper ventilation and fire safety.
- Heat Water: Place the container directly over the flame.
- Achieve a Rolling Boil: Bring water to a steady, rolling boil where large bubbles continuously rise to the surface.
- Boil Duration: Keep water at a full boil for at least 1 minute. At elevations above 6,500 feet (2,000 meters), extend boiling time to 3 minutes to compensate for lower boiling temperatures.
- Cool and Store: Remove container from heat and allow water to cool. Cover it to prevent recontamination, then transfer to a clean vessel or hydration pack.
How Long to Boil Water for Safety:
• Sea Level to 6,500 ft: Minimum 1 minute at a rolling boil.
• Above 6,500 ft: Minimum 3 minutes at a rolling boil.
Pros and Cons: Pros:
• Highly effective against bacteria, viruses and protozoa.
• No need for chemical additives or filters.
• Simple technique with minimal tools.
Cons: Requires fire-building skills and fuel.
• Time-consuming, especially at high altitude.
• Tastes flat due to lack of mineral content; may need aeration by pouring between containers.
Conclusion: The boiling method is the most reliable technique for purifying water in remote environments. It kills a wide range of pathogens without relying on specialized equipment or consumable chemicals. With proper preparation and safe fire practices, boiled water ensures a dependable supply of hydration in the field.
Water Purification Tablets (Chlorine Dioxide)
Water purification tablets based on chlorine dioxide are lightweight, compact, and effective against a wide range of pathogens. When hiking, backpacking or camping in remote areas, these tablets offer a reliable way to treat water when boiling or filtration is not an option.
How to Use Them Safely
- Choose a tablet designed for wilderness use.
- Remove any debris by letting water settle, then strain through a cloth or coffee filter.
- Drop the tablet into a clean container filled with water at the recommended volume (usually one liter).
- Cap or cover the container to minimize contamination.
- Follow the manufacturer’s instructions for shaking or stirring to dissolve the tablet completely.
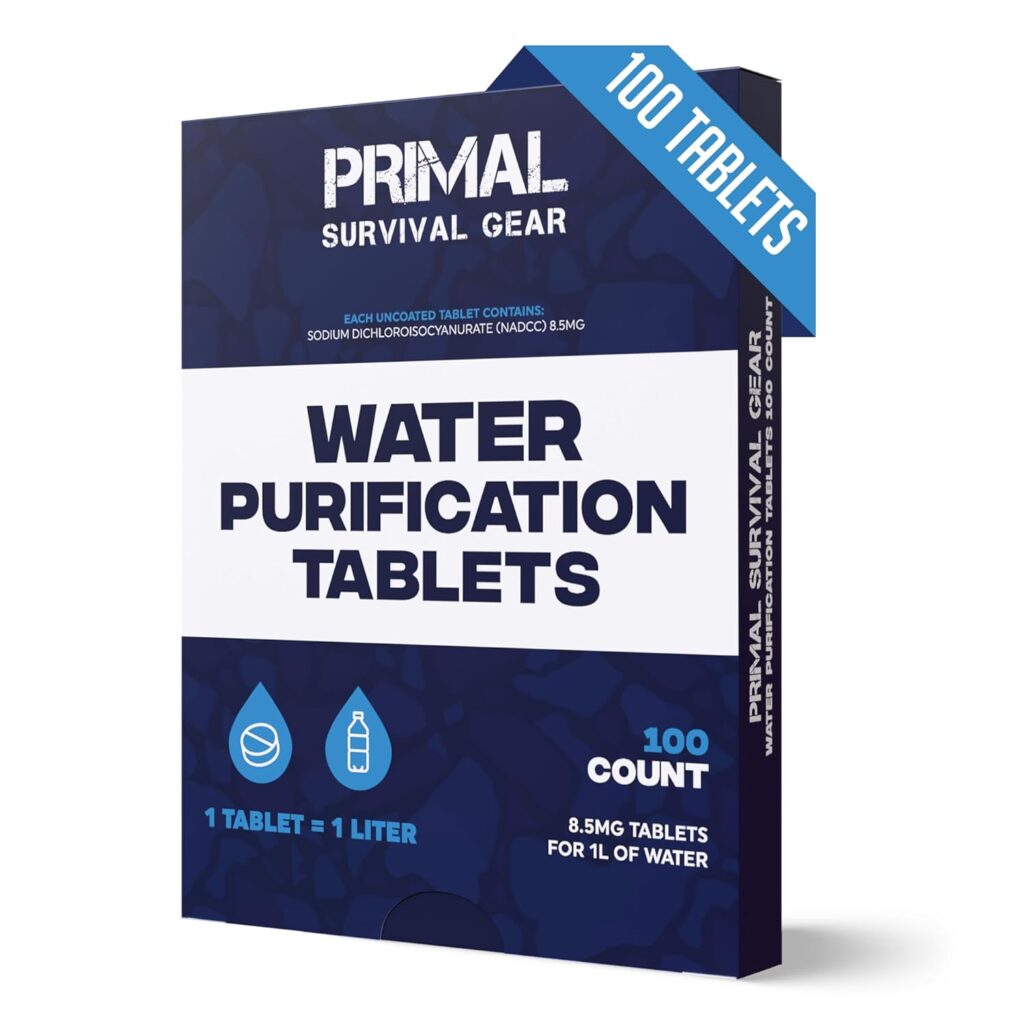
Potable Aqua Chlorine Dioxide Water Purification Tablets (30-Count)
Trusted by hikers and emergency preppers for neutralizing viruses, bacteria, and cysts.
Considerations for Vulnerable Individuals Pregnant women or people with certain health conditions should consult a healthcare professional before using chlorine dioxide tablets. While generally safe at recommended dosages, some individuals may experience digestive upset or allergic reactions. Always carry a backup treatment method such as a portable filter in case tablets are not suitable.
Storage Tips · Keep tablets dry: Store in an airtight container or resealable bag with a desiccant pack. · Avoid temperature extremes: Do not expose tablets to high heat or moisture, which can reduce their effectiveness. · Check expiration dates: Replace tablets every two to three years or as indicated. · Keep in original packaging when possible to maintain proper labeling.
Chlorine dioxide tablets are a practical choice for chemical water purification in the wild. By following safe usage guidelines, respecting wait times, and storing tablets correctly, you can secure a supply of safe drinking water on any outdoor excursion.
Filtration Techniques
a. DIY Filter (Sand, Charcoal, Gravel)
How to build a simple filter in the wild When you lack commercial gear, a layered filter built from readily available materials can improve water clarity and reduce contaminants. Gathering sand, charcoal (from a fire), gravel, and a container (plastic bottle, hollowed branch, or cloth sack) is essential.
Step-by-step layering instructions
- Prepare the container: Cut off the bottom of a plastic bottle or carve out the center of a bamboo segment. Invert it so the “mouth” faces down.
- Create an outlet: Secure a small piece of cloth or fine mesh over the opening to hold material while letting water flow.
- Add gravel layer: Pour a 2–3 cm layer of coarse gravel to trap large debris—twigs, stones, insects.
- Add sand layer: On top of gravel, add a 3–5 cm layer of fine sand. This removes smaller particles like dirt and silt.
- Add charcoal layer: Crush charcoal into small pieces (pea-sized) and add a 2–3 cm layer. Charcoal adsorbs many organic compounds, odors and improves taste.
- Optional final sand: A thin top layer of sand can catch any charcoal dust.
To use, pour water slowly through the top. Collect filtered water below. For heavier sediment, let water settle first, then decant clear portion.
What it removes vs. what it doesn’t Removed or reduced:
• Large debris (leaves, insects) • Sediment (sand, silt)
• Some organic compounds (color, odor)
Not reliably removed:
• Bacteria, viruses and protozoa
• Dissolved salts, heavy metals, chemical pollutants
After filtration, boil water for at least one minute (or three minutes at high elevation) to kill pathogens.
b. Portable Water Filters (Sawyer, LifeStraw, etc.)
How they work Portable water filters use hollow-fiber membrane or ceramic cartridges with microscopic pores (0.1–0.2 microns). When you suck or pump water through, particles larger than the pores (including most bacteria, protozoa, and some cysts) are trapped, allowing clean water to pass. Some models include activated carbon elements to improve taste and reduce certain chemicals.
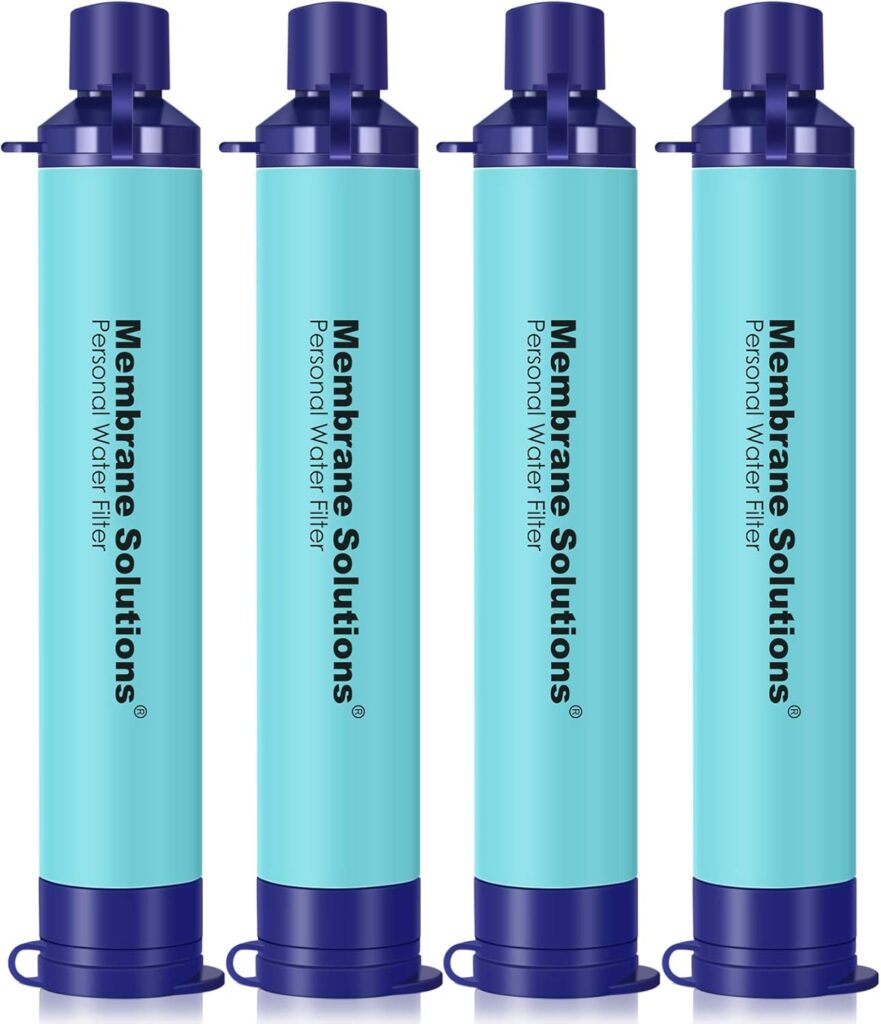
Pros: lightweight, effective
• Weight: Most models weigh under 100 grams, ideal for backpackers and emergency kits.
• Filtration rate: Many produce 0.5–2 liters per minute, enough for one person’s daily needs.
• Shelf life: Cartridges can filter tens of thousands of liters before replacement.
• No chemicals: No residual taste from chlorine or iodine.
• Compact: Fits in pack pocket or attaches to water pouch.
When to use and how to maintain Use whenever you suspect microbial contamination: lakes, rivers, streams, especially after heavy rain or where animal activity is high. Also vital during travel to areas with questionable water infrastructure.
Maintenance tips:
- Backflushing: After every 1–3 liters, reverse-flush with clean water using the included syringe or pump to clear trapped debris and maintain flow.
- Dry storage: Let cartridge air-dry completely before packing to prevent bacterial growth.
- Inspect O-rings and seals: Ensure no cracks; replace if damaged to maintain a tight seal.
- Clean exterior: Wipe threads and housing to prevent grit build-up.
With proper care, a quality portable filter can serve for years. Always carry a lightweight backup (e.g., chemical tablets) in case of filter damage. Combining DIY methods, boiling or chemical treatment, and portable filtration provides layered protection and greater peace of mind when sourcing water in remote settings.
Solar Disinfection (SODIS Method)
Solar disinfection, known as the SODIS method, uses sunlight to inactivate harmful microorganisms in clear bottles. It’s a cost-effective, low-tech approach that only needs UV radiation and heat. Ideal for campers, hikers, and those in emergency scenarios, this method requires minimal gear. By exposing water-filled containers to strong sunlight, you can achieve a significant reduction in bacteria, viruses, and protozoa. Understanding preparation steps, exposure time, and environmental factors is key to success.
How to Purify Using Sunlight and Clear Plastic Bottles
• Select transparent, food-grade PET
1. plastic bottles or clear glass jars.
• Fill each container completely, eliminating any air gap to maximize UV contact.
• If the source water is cloudy, pre-filter through cloth or let particles settle; then decant clear water.
• Label bottles with the start time, and lay them horizontally on reflective or light-colored ground to boost exposure.
• Keep bottles in direct sunlight all day. Avoid colored containers or turbid water, as these block UV rays.
How Long It Takes and When It Works Best
• On a bright day with air temperatures above 30°C (86°F), six hours of direct sunlight often suffice.
• Under partly cloudy skies, leave bottles exposed for two full days, moving them back into direct light once clouds clear.
• Peak UV-A levels occur between late morning and early afternoon—plan your treatment during these hours.
• Short winter days or regions with persistent cloud cover demand longer exposure periods.
• Always check local weather forecasts to schedule your SODIS session effectively.
Limitations of the Method
• Dependence on consistent, strong sunlight—unpredictable weather reduces reliability.
• High turbidity must be addressed before treatment; otherwise UV rays cannot penetrate.
• PET bottles degrade over time; replace every few months to maintain clarity.
• SODIS does not remove chemical pollutants, heavy metals, or dissolved solids; it’s unsuitable for industrially contaminated sources.
• Treated water should be consumed within 24 hours or re-treated if stored longer.
In combination with other treatment options, SODIS enhances safety on trails or in relief operations. With responsible preparation and awareness of its limits, you can reliably improve drinking water quality in remote settings.
How to Store Purified Water
Storing purified water correctly ensures safety and quality in any survival situation or daily routine. Even when water has been filtered, boiled, or treated, improper storage can lead to contamination or off-flavors. By selecting suitable containers, maintaining hygienic conditions, and monitoring storage times, you can keep water safe for drinking, cooking, and hygiene. Whether preparing for a weekend hike or maintaining a home emergency stockpile, understanding proper storage techniques safeguards your health and peace of mind.
Proper containers The first step is choosing the right vessel. Food-grade, BPA-free plastic jugs are lightweight and affordable. Look for FDA-approved containers labeled safe for beverages. Glass bottles with tight lids are ideal at home but fragile for travel. Avoid reused chemical bottles, such as those formerly holding cleaning solutions or automotive fluids. Even thorough washing may not remove toxic residues. Refrain from using containers with cracked seals or broken spouts that can harbor bacteria. Whenever possible, select opaque or light-resistant containers to limit microbial growth.
Tips for keeping it clean and cool Sanitize containers before use by washing them with hot, soapy water, rinsing, and air drying. For extra protection, rinse with a mild bleach solution (one teaspoon per quart), rinse again. Fill vessels immediately after purification, seal caps tightly, store in a cool, dark place away from heat and sunlight. High temperatures accelerate bacterial growth and degrade plastics. Label containers with fill dates and rotate supplies every six months to maintain freshness. For outdoor trips, use insulated carriers or wrap containers in reflective material to reduce temperature changes.
How long you can store it safely Under ideal conditions—sealed food-grade containers stored cool and dark—purified water can remain safe indefinitely. For peak quality, refresh supplies every six to twelve months, discarding water that becomes cloudy or develops an off-smell. In hot climates, reduce storage times to three to six months.
Conclusion Effective water storage preserves the benefits of purification and ensures you have a reliable supply for hydration and cooking. Selecting proper containers, maintaining a clean environment, and following storage timelines will help you stay prepared and healthy in any setting. Also consider keeping extra purification tablets on hand to treat water if you need to top up supplies.
Mistakes to Avoid When Purifying Water in the Wild
Safe water is essential in any remote setting. Yet many people make avoidable errors when sourcing water outdoors. Even if you possess top-tier gear, overlooking a basic precaution could lead to serious illness. By recognizing and steering clear of common pitfalls, you boost your odds of staying well-hydrated and healthy. This guide highlights three mistakes that could compromise water safety and offers tips to help you maintain a clean drinking supply throughout your outing.
- Thinking clear water = safe water Crystal clarity can be deceptive. Pathogens such as bacteria, protozoa and viruses remain invisible even in the clearest creek. Algae blooms, agricultural runoff or animal waste can introduce harmful microorganisms or chemical residues that pose health risks.
- Avoid assuming that visually appealing water is free of contaminants. Employ at least one trusted method—chemical treatment, filtration or heat sterilization—before drinking. For extra protection, combine methods, for instance filtering first to remove debris and then adding purification tablets. This dual approach greatly reduces the chance that your sole treatment technique fails when you depend on it most.
- Not purifying rainwater collected from surfaces Rainwater may seem pristine, but once it lands on rocks, leaves or rooftops its purity can degrade quickly. Debris, bird droppings and airborne pollutants accumulate on collection surfaces, turning rain into a risky source. Even water gathered in a clean-looking container may harbor bacteria or chemical residues.
- Always channel rainfall into a closed vessel and process it through a filter or treat with purification drops or heat. If you lack a filter, boil water at a vigorous roll for at least one minute, then allow it to cool before consumption. This step ensures removal of most disease-causing agents, even those clinging to the collection area.
- Re-contaminating purified water The work is not done once water has been treated. Cross-contamination can occur at any moment if clean water contacts unwashed containers, scoops or hands. Using dirty utensils or refilling a treated supply from a raw source defeats your earlier efforts. To prevent this, designate separate vessels for untreated and treated water. Wash hands thoroughly—or use hand sanitizer—before handling clean containers.
- Keep tools and packaging sealed when not in use and label treated water clearly. If you refill your bottle at a spring for flavor refreshment, don’t forget to purify again. Consistent discipline in handling and storage practices will preserve the quality of your supply throughout your trip.
Conclusion By avoiding these common errors, you reduce the chance of dehydration, stomach distress and infection. Careful preparation and strict protocols transform any wild trek into a safer journey. Regularly inspect and maintain filters and treatment devices; replacing worn parts ensures consistent performance and helps you stay hydrated without worry. Always respect the hazards of untreated water and follow a reliable purification routine each time you sip in the field.
Final Survival Tips
When you’re deep in the backcountry, clean water can mean the difference between a safe hike and a serious medical emergency. By the time thirst sets in, you may be dehydrated, dizzy or disoriented. This makes solid preparation essential. Below are four final survival tips to lock in a reliable supply of drinkable water, even when conditions are tough.
Always Carry a Backup Method
No single tool is foolproof. Filters can clog, chemical tablets can expire, and stoves can run out of fuel. That’s why you should pack at least two different purification options. For example:
- Primary: A lightweight pump filter that removes bacteria and protozoa.
- Backup A: Compartmentalized tablets or drops that kill viruses as well as bacteria.
- Backup B: A small folding stove and metal cup for boiling. Store tablets in sealed packets inside a waterproof bag, and keep a couple of fuel canisters in case you need to boil. With redundancy, you’ll never be left with untreated water.
Purify Even If You Filter
Modern filters capture most pathogens and sediment, but they won’t remove dissolved chemicals, heavy metals or viruses smaller than filter pore size. For maximum safety, treat filtered water with a secondary method. After pumping or gravity-filtering, drop in a purification tablet or add two or three milliliters of liquid disinfectant per liter. Wait the manufacturer’s recommended time—usually 30 minutes—before drinking. This two-step regimen ensures a broad spectrum of threats is neutralized.
Practice Before You Need It
When stress and exhaustion set in, even simple tasks can feel impossible. Familiarize yourself with every tool in your kit before hitting the trail: • Run through a full filtration cycle and note how long it takes.
- • Test tablet or drop instructions in a kitchen setting to verify dosage and timing.
- • Assemble and light a camp stove in dry conditions to hone your technique. Knowing exactly how much hand strength, water volume and fuel you require speeds up the process in the field and prevents accidental mistakes.
Don’t Drink If You’re Unsure
Never take chances with unknown water sources. If the water smells foul, has unusual color, or contains visible debris, treat it twice or avoid it altogether. When in doubt, stick to familiar springs, snowmelt or fast-flowing streams rather than stagnant pools. If equipment fails and you have no backup, ration your current supply until you reach safer ground. Dehydration is bad, but waterborne infections can be far worse.
Putting It All Together A disciplined approach to hydration is a cornerstone of survival. Before you leave for any excursion, inventory your purification gear and pack spares. Run drills at home to smooth out any operational hiccups. Once you’re on the trail, remember that clear water is not always safe, and a single method may not be enough. Carry backups, combine treatments, and never drink unless you’re confide

